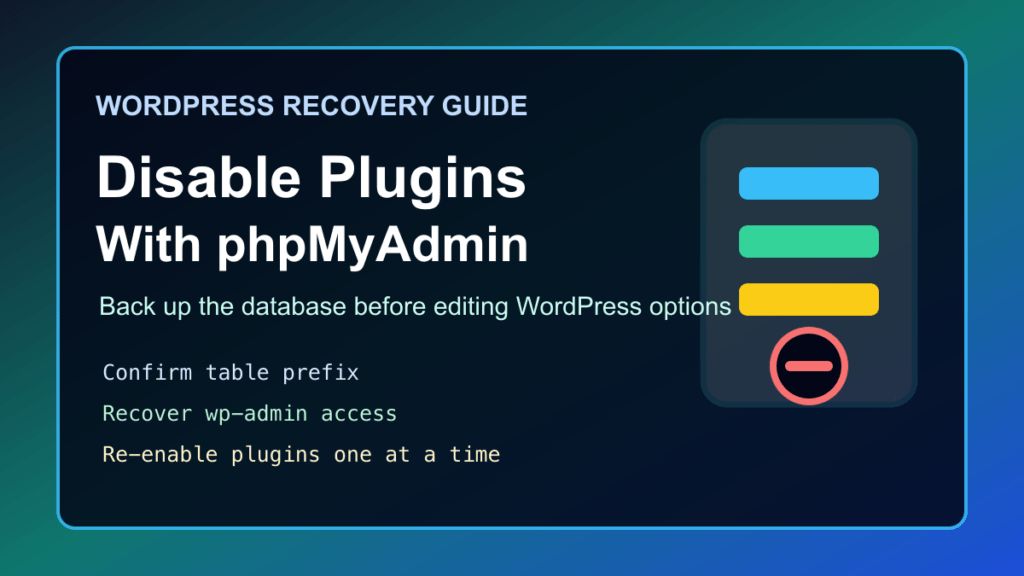
Disabling WordPress Plugins With phpMyAdmin

Disable WordPress plugins through phpMyAdmin only with a database backup, access plan, rollback notes, cache purge, and public verification.
Disable WordPress plugins with phpMyAdmin safety checklist

2026 update: Disabling WordPress plugins from phpMyAdmin is still useful when a plugin breaks wp-admin, causes a fatal error, or blocks normal login. Treat it as a recovery step, not routine maintenance. Take a database backup first, confirm the real table prefix from wp-config.php, and use WordPress Recovery Mode, WP-CLI, Plesk WordPress Toolkit, cPanel WordPress Toolkit, or your host’s file manager first when those options are available.

After the site loads again, do not just re-enable every plugin. Update WordPress core, themes, and plugins, review recent administrator activity, and re-enable plugins one at a time. If the lockout happened after a suspicious plugin update or a security incident, use the WordPress hosting security checklist, the Really Simple Security 2FA patch guide, and the Burst Statistics patch guide as examples of what to review after plugin-related risk.

Before You Edit The Database

  • Download a database backup or confirm your hosting backup is recent and restorable.
  • Confirm the affected site and database, especially on cPanel, Plesk, staging, multisite, or agency hosting accounts.
  • Check the table prefix in wp-config.php; it may not be wp_.
  • Try WordPress Recovery Mode or WP-CLI first if you still have shell or recovery-link access.
  • Record which plugins were active before changing anything so you can bring the site back carefully.

Disabling WordPress plugins can be useful when you encounter compatibility issues or conflicts between plugins. If you are unable to access the WordPress admin dashboard to disable the plugins, you can disable all plugins through phpMyAdmin. Here is a step-by-step tutorial on how to disable all WordPress plugins through phpMyAdmin.

Step 1: Access phpMyAdmin
Log in to your hosting account and navigate to phpMyAdmin. You can typically access phpMyAdmin through your hosting control panel.

Step 2: Select your WordPress database
Once you have accessed phpMyAdmin, select your WordPress database from the list of databases on the left-hand side of the page. You can check which one this is through your wp-config.php file.

Step 3: Locate the wp_options table
Within your WordPress database, locate the wp_options table. Click on it to open the table.

Step 4: Locate the active_plugins row
Within the wp_options table, locate the active_plugins row. Click on the Edit button next to the row to open the Edit window.

Step 5: Replace the value with a default value
In the Edit window, replace the current value in the option_value field with the following default value:

a:0:{}

This will disable all plugins on your WordPress website. Once you have replaced the value, click the Go button to save the changes.

Step 6: Verify that plugins are disabled
After disabling the plugins through phpMyAdmin, you can verify that the plugins are disabled by visiting your WordPress website. All plugins should now be disabled.

Step 7: Re-enable plugins one by one
Once you have identified and resolved any issues with your WordPress website, you can re-enable your plugins one by one to identify any compatibility issues or conflicts. To re-enable a plugin, simply edit the active_plugins row in the wp_options table and replace the default value with the serialized array of plugin names.

In conclusion, disabling WordPress plugins through phpMyAdmin is a quick and easy way to troubleshoot compatibility issues and conflicts between plugins. By following the steps outlined in this tutorial, you can disable all plugins on your WordPress website and re-enable them one by one to identify any issues.

Note: It is always recommended to create a backup of your WordPress database before making any changes. This will ensure that you can easily restore your website to its previous state if anything goes wrong.

Related Fix I.T. Phill Guides

2026 database-safety refresh

Disabling plugins through phpMyAdmin is a recovery step for locked-out or broken sites, not the first thing to try on a healthy dashboard. Back up the database, note the current plugin list, and change only the minimum needed to regain access.

After access returns, do not leave the site in a half-disabled state. Re-enable plugins one at a time, watch the error log, confirm the theme still loads, check forms and checkout, clear cache, and record which plugin or update caused the failure so the permanent fix can happen on staging.

Related Fix I.T. Phill reading

Sources

2026 Support Update: Disable WordPress Plugins With phpMyAdmin: Safety Checklist

Current action path: Database-level plugin recovery is a last-resort support move, so it should be documented like a maintenance window, not treated like a casual dashboard click.

Evidence to include before troubleshooting

  • Database backup file name, timestamp, storage location, and who approved the change.
  • Hosting panel, database name, affected site URL, admin access problem, and the plugin symptom that forced database-level recovery.
  • Rollback note, cache purge plan, login test, public page test, and follow-up plugin update or replacement decision.

Safe troubleshooting order

  1. Confirm the latest usable backup before changing plugins, themes, PHP, database rows, cache, or DNS.
  2. Reproduce the issue once, record the failing URL or workflow, and separate public, admin, checkout, form, email, and REST symptoms.
  3. Check obvious recent changes first: updates, new plugins, theme edits, PHP version switches, caching, CDN rules, DNS changes, and hosting-panel maintenance.
  4. Make one reversible change at a time, verify the public page and admin path, and write down what changed.
  5. After the fix, purge cache, re-test the broken workflow, check forms or checkout where relevant, and keep the rollback point until the site stays stable.

Source-backed references and next reads

For a support ticket, send the symptom, URL, timeline, backup state, access method, recent changes, and verification target in the first message. That gives the person fixing the site enough context to work safely instead of guessing.

Picture of admin

admin

Leave a Reply

Sign up for our Newsletter

Get the latest information on what is going on in the I.T. World.