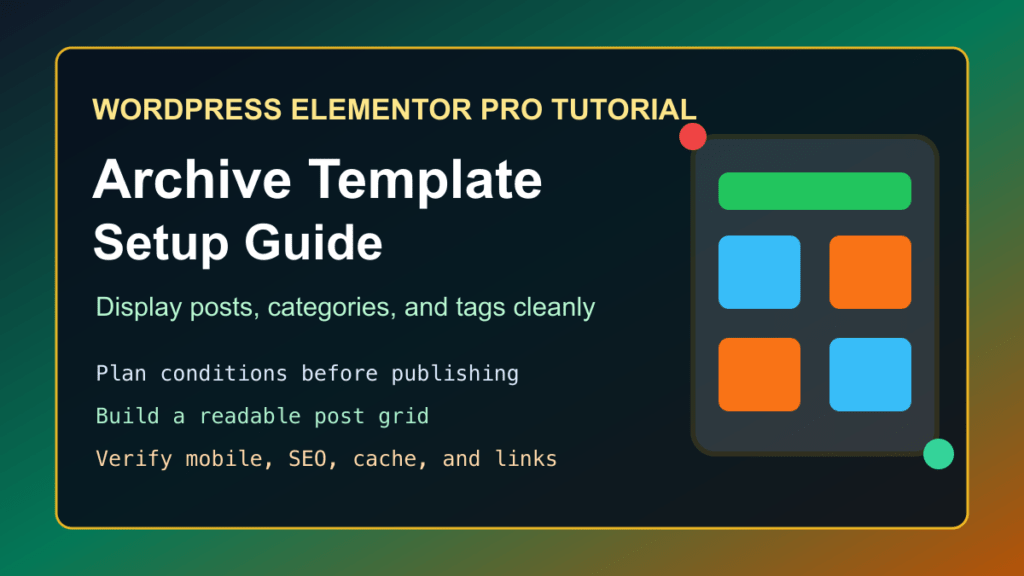
An archive template in Elementor Pro controls how groups of posts are displayed on your WordPress site. That can mean your blog archive, category pages, tag pages, author pages, custom post type archives, or WooCommerce-style listing pages when your site is built around Elementor templates.
The goal is simple: make archive pages useful instead of leaving them as plain theme defaults. A good archive template gives visitors a clear title, an easy-to-scan post grid, helpful excerpts, usable pagination, and enough spacing that the page works on both desktop and mobile.
Before You Start
- Confirm Elementor and Elementor Pro are updated and working on the site.
- Take a backup or test the template on staging if the site is already live.
- Check which theme is active, because some themes add their own archive layout or sidebar behavior.
- Decide whether this template should apply to all archives, only blog archives, specific categories, tags, authors, or a custom post type.
- Open a few existing archive pages before changing anything, so you know what needs to improve.
If you are changing an older production site, do not skip the backup. Archive templates can affect many URLs at once, and the breakage is not always obvious from the home page.
Create The Archive Template
- In the WordPress dashboard, go to Templates and open Elementor’s theme or template builder area.
- Create a new template and choose Archive as the template type.
- Name it something clear, such as Blog Archive, Category Archive, or Case Study Archive.
- Start from a blank canvas or pick a prebuilt archive layout if it matches the site.
- Add the archive title or heading near the top of the page, then add the post listing widget you want to use.
Keep the first version boring and functional. You can polish spacing, colors, cards, and hover states after the archive is showing the right posts in the right place.
Build The Post Listing
The main archive content usually comes from Elementor’s posts or loop-style listing tools. Use the current query so the archive page keeps its context. For example, a category archive should show posts from that category, and a tag archive should show posts using that tag.
- Show the featured image when posts have strong images.
- Show the title, excerpt, date, and category only when they help visitors choose what to read.
- Use pagination or a load-more pattern instead of putting too many posts on one page.
- Make sure cards stack cleanly on mobile and do not force tiny text.
- Use consistent image ratios so the grid does not jump around from post to post.
For a service site, I usually keep archive cards simple: image, title, short excerpt, and a clear read-more link. Fancy overlays look nice in the editor, but they are often harder to scan on a phone.
Set Display Conditions Carefully
Display conditions decide where the archive template appears. This is the part to slow down on.
- Use All Archives only when one layout truly works everywhere.
- Use a narrower condition for a specific blog, category, tag, author archive, or custom post type archive.
- Do not replace WooCommerce, event, directory, LMS, or membership archives unless you have tested those flows.
- After publishing, open the exact archive URLs affected by the condition.
- If the wrong archive changes, edit the display condition before you keep styling.
Check SEO And Accessibility
- Use one clear archive heading that matches what the visitor expects to find.
- Make post titles real text, not only text baked into an image.
- Use descriptive image alt text on featured images where the image adds meaning.
- Keep text contrast readable on archive cards and buttons.
- Make sure keyboard users can reach post links, pagination, filters, and search controls.
- Avoid hiding important archive text inside hover-only effects.
Archive pages can bring in a lot of search traffic, especially category and tutorial archives. Keep them fast, readable, and crawlable. If you use a separate SEO plugin, review whether the archive should be indexed and whether the title/meta pattern still makes sense.
Publish And Verify
- Publish the archive template with the intended display condition.
- Open the affected archive pages in a private browser window.
- Check desktop, tablet, and mobile widths.
- Click several post cards and confirm they open the correct posts.
- Test pagination, filters, search, and category links if the archive uses them.
- Clear page cache, host cache, and CDN cache after the layout is final.
If the archive looks correct while logged in but wrong when logged out, you are probably seeing a cache or display-condition issue. Clear the cache first, then re-check the template condition.
Related Fix I.T. Phill Guides
- How to update WordPress plugins, themes, and core safely
- Disabling WordPress plugins with phpMyAdmin
- cPanel WordPress hosting security checklist
- Avada Builder CVE patch guide for older builder sites
Sources
After publishing the archive template
Check the category, tag, author, and search archive screens that the template affects. Confirm pagination, canonical tags, headings, and mobile layout before assuming the archive is ready for search traffic.
2026 archive-template refresh
Before changing an Elementor Pro archive template, confirm which archive views the business actually uses: blog categories, tags, authors, search, custom post types, product categories, or landing-page collections. A small template change can affect dozens of public URLs when the display conditions are broad.
Use staging when possible, keep a fresh backup, and test the archive against WordPress template hierarchy expectations. After publishing, check the first page, pagination, empty states, mobile layout, breadcrumbs, canonical tags, category descriptions, featured images, and any filters or search widgets that rely on the archive layout.
Related Fix I.T. Phill reading
- Create a product archive template in Elementor Pro
- Elementor section templates checklist
- Help4 WordPress support checklist