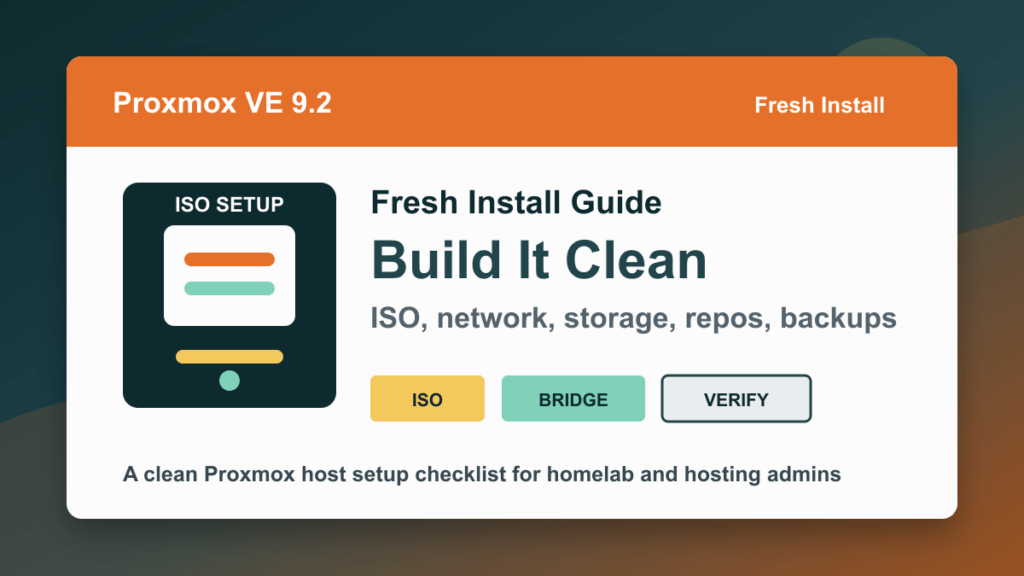
Proxmox VE 9.2 is the current Proxmox VE baseline to use for a fresh host build in this Fix I.T. Phill guide. Proxmox says 9.2 is based on Debian 13.5 “Trixie” with Linux kernel 7.0, QEMU 11.0, LXC 7.0, ZFS 2.4, and Ceph Tentacle 20.2 available alongside Ceph Squid 19.2.
This is the clean-install path for a new host. If you are upgrading an existing node or cluster, use the Proxmox upgrade checklist instead.
Hardware checklist before install
- Use a 64-bit Intel or AMD CPU with virtualization support enabled in firmware.
- Plan memory as Proxmox overhead plus guest memory, with extra headroom for ZFS or Ceph.
- Use fast redundant storage. SSD or NVMe storage makes a much bigger difference than people expect.
- Do not put ZFS or Ceph on top of a hardware RAID controller that hides disks from the filesystem.
- Use redundant NICs when this will host business workloads, backups, or clustered guests.
- Update BIOS/UEFI, controller firmware, NIC firmware, and out-of-band management before production.
Install media
- Download the current Proxmox VE ISO from the official Proxmox download source.
- Verify the download when checksums are available.
- Write the ISO to a USB drive with a reliable image-writing tool.
- Boot the server from the USB drive in the intended UEFI or BIOS mode.
- Keep remote console access available if this is a datacenter or customer node.
Storage choice
- ZFS mirror: good for small hosts with two enterprise SSDs or NVMe devices.
- ZFS RAID10 style layouts: good when you need better VM I/O and can afford more drives.
- Hardware RAID: fine for traditional storage, but do not combine it casually with ZFS or Ceph.
- Ceph: plan for multiple nodes, fast networks, and enough disks before using it for production VM storage.
- Separate backup target: snapshots are not backups. Use Proxmox Backup Server or another real backup path.
Network setup
Most Proxmox hosts need at least one Linux bridge for VMs. For hosting workloads, document which bridge carries public traffic, private management, storage, backup, and migration. Keep management access restricted and avoid exposing the Proxmox web UI to the open Internet.
First boot checklist
- Log in to the Proxmox web UI from a trusted admin network.
- Configure repositories for your subscription status.
- Run the first update and reboot if the kernel or critical packages changed.
- Set up time sync, DNS, hostname, email notifications, and storage labels.
- Create backup storage before creating important VMs.
- Create one test VM and verify console, network, disk I/O, shutdown, backup, and restore.
First VM settings to verify
- Use VirtIO devices and current guest drivers where appropriate.
- Install the QEMU guest agent for supported guests.
- Confirm the VM can reboot cleanly from the Proxmox console.
- Take an initial backup and test that the backup job completes.
- Document the VM ID, hostname, IPs, owner, backup policy, and maintenance window.
Hosting-node warning
If this Proxmox host will run WHM/cPanel VMs, DNS servers, mail servers, database servers, or customer workloads, build it like production from day one. That means ECC memory where possible, redundant power, monitored storage health, off-host backups, a real firewall plan, and enough spare capacity for one noisy VM to misbehave without hurting every customer.
Related Fix I.T. Phill guides
- Proxmox VE 9.2 Upgrade Checklist
- Proxmox Backup Server 4.2 Upgrade Guide
- Help4 Network hosting and website support