
How to Install Help4 Builder Suite and the Help4 Blank Theme Safely
August 7, 2026
Help4 Builder Suite and the Help4 Blank theme are designed to work as a lean WordPress building stack: the theme provides the clean foundation while the plugin adds the visual builder, templates, structured content tools, and optional site features. Treat them as two separate packages and make the theme change a deliberate, reversible step rather than an impulse during a page edit.
Start With a Clear Change Plan
Before installing a new builder or switching a live theme, identify the page you will test first, the person who can approve the new design, and the recovery choice if anything behaves unexpectedly. A current, usable site recovery copy matters before production theme changes. Keep the existing theme active until the new header, footer, key pages, forms, and mobile layout have been reviewed.
Use a WordPress staging test when one is available. If the work must happen on a live site, make it small: install the plugin, create a draft page, and validate it before changing a public template or the site theme.
Get the Two Official Packages
Check the Help4 Builder Suite product page for the current plugin release, compatibility notes, and support resources. Use the official Help4 Blank theme guide for the companion theme, installation notes, and screenshots. Do not substitute a random copy from an unverified download source.
In WordPress, install the Builder Suite plugin through the normal plugin screen, then confirm that it activates without an error. Keep the theme installation as a separate step. That separation makes it easier to tell whether a problem belongs to the plugin, the theme, a cache layer, or a pre-existing extension.
Create One Draft Page First
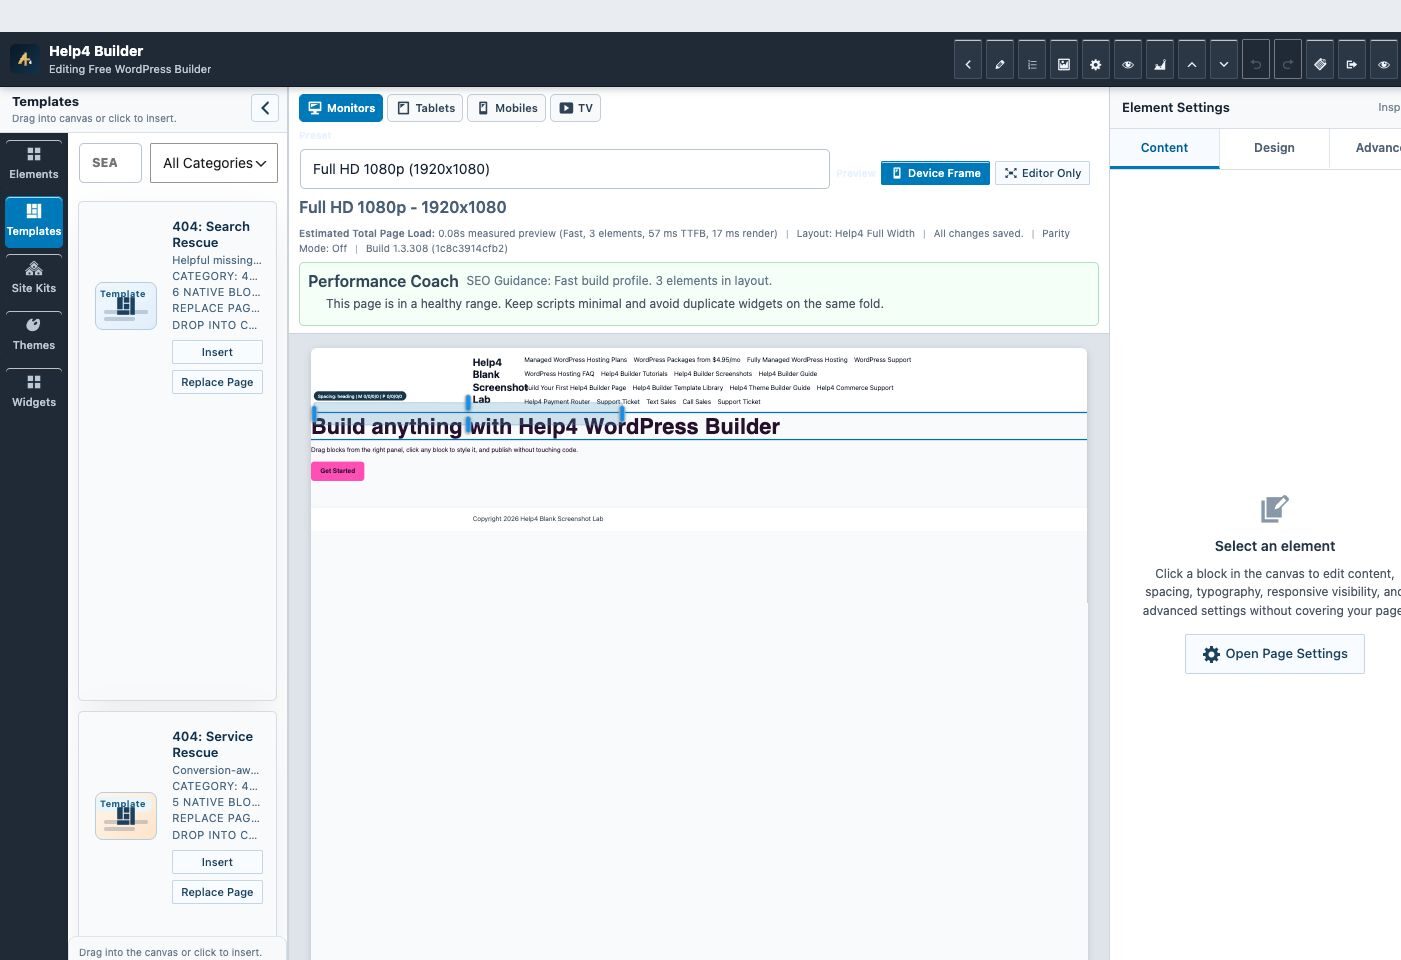
Open the Builder on a new draft page and build one simple section: a clear heading, a short explanation, a relevant image, and one useful call to action. Use the template library for a starting point, but review every imported block before publishing. A template is a draft aid, not permission to overwrite the site front page or global navigation.
Help4 Builder Site Kits are intended to create reviewable draft pages and draft templates. Start there when you want structure, then decide separately when a page, menu, header, footer, or 404 layout should become public. The screenshot above is from a first-party test workspace and is included to show the visual editing surface without customer information.
Switch to Help4 Blank Only After Coverage Is Ready
The Help4 Blank theme is the lightweight theme layer for this workflow. Installing it does not mean it must become the production theme immediately. Check that the current site has replacement coverage for the header, footer, homepage, service pages, posts, search, 404 page, forms, and any WooCommerce views that matter to the business.
Schedule the activation when the right people can test the site. After the change, check the public homepage and the highest-value pages in a private browser window. Confirm that menus open, forms submit normally, images load, and the footer still contains the needed support and policy links.
Use Global Templates With Care
Global templates are powerful because they can change a shared header, footer, or page layout across the site. Start with one template and give it a clear purpose. Review where it will appear before publishing, especially if a site has an existing page builder, custom post types, or a shop.
Do not use a global template to solve an isolated page problem. For a one-off landing page, use a draft page or a purpose-built canvas page so the rest of the site remains stable. For a sitewide change, make the result easy to test and easy to reverse.
Review Desktop and Mobile Before Publishing
Use the Builder’s device preview choices as an early check, then open the public draft preview on a real phone and desktop browser. Look for clipped headings, crowded navigation, unreadable buttons, unexpected spacing, and images that do not match the page. The page should remain understandable when visitors arrive from search, an email link, or a support request.
For technical checks around public delivery, follow how to clear and test WordPress cache and CDN. Cache clearing is a verification step after a deliberate change, not a substitute for reviewing the actual page.
Keep Commerce and Payment Work Separate
If the site uses WooCommerce, validate catalog, cart, checkout, confirmation, and email behavior after a theme or global-template change. Keep payment-routing work as its own reviewed change. The Stripe Router for WooCommerce setup and checkout-testing guide covers that smaller payment-focused workflow without exposing credentials or customer data.
Maintain the Stack Without Plugin Sprawl
Keep only the features the site uses. Review inactive plugins and unused themes during a normal maintenance window with the unused WordPress plugins and themes checklist. Update the builder, theme, and WordPress core one component at a time when possible, then verify the same public pages before moving to the next component.
For help sorting out a migration, layout issue, cache problem, or safe update plan, start at the FixItPhill WordPress support hub. The goal is not the largest possible stack; it is a site that remains understandable to the next person who needs to maintain it.
