If you run a WooCommerce store, the product archive is one of the pages customers touch the most. It controls what people see on the Shop page, product category pages, product tag pages, and other product listing views. Elementor Pro can make that page look cleaner, but it is still worth treating the change like a small store update instead of a quick design tweak.
This walkthrough keeps the original goal of the tutorial intact: create a product archive template in Elementor Pro, assign it to the right WooCommerce archives, and verify that customers can browse products without surprises.
Before You Edit The Product Archive
Start with the boring safety work. It is not glamorous, but it is what saves the day when a shop page stops showing the right products.
- Take a fresh site backup, or make sure your host has a restore point from today.
- If the store is busy, test the new template on staging first.
- Update Elementor, Elementor Pro, WooCommerce, and your active theme after checking for known compatibility notes.
- Open the current Shop page, a product category page, and a product tag page in separate tabs so you can compare before and after.
- Confirm at least a few products have images, prices, stock status, and categories assigned.
If plugin updates make you nervous, that is normal. I keep a separate guide for updating WordPress plugins, themes, and core files safely. For hosted stores, also keep the cPanel WordPress hosting security checklist nearby so backups, malware scans, and file permissions do not get skipped.
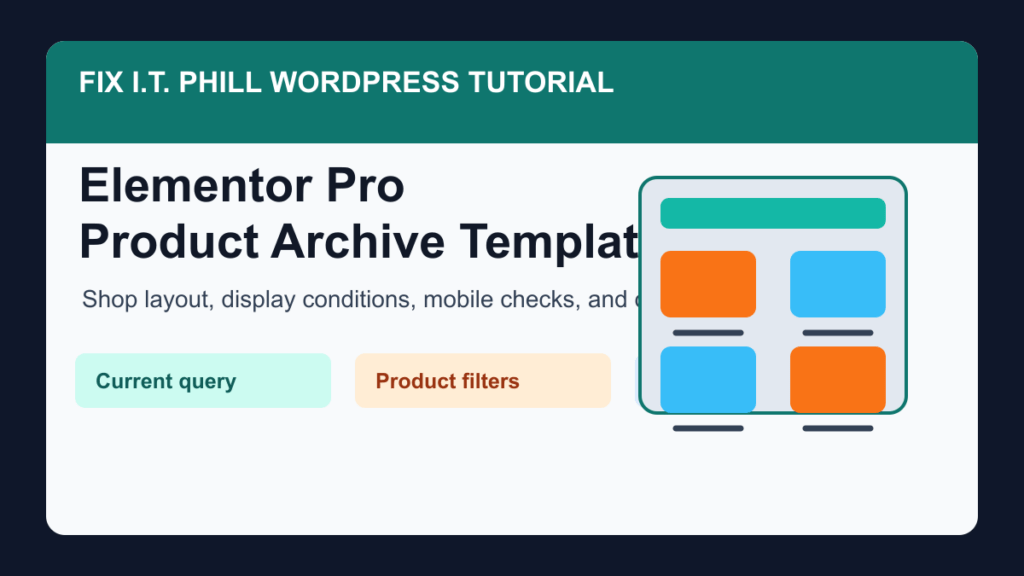
Create The Product Archive Template
In the WordPress dashboard, go to Templates, then Theme Builder. Choose Product Archive and create a new template. Give it a clear name such as Shop Product Archive or All Product Categories Archive so you know what it controls later.
Elementor's product archive workflow is different from building a regular page. A normal page is static unless you place dynamic widgets on it. A product archive template is meant to follow the current WooCommerce product query, which is why it can show the Shop page, a category archive, or a tag archive depending on where the visitor is.
For a simple store layout, start with these pieces:
- A short archive title or heading that makes sense on both the Shop page and category pages.
- The WooCommerce archive products or products widget configured for the current query.
- Sorting controls if customers need to sort by popularity, rating, latest products, or price.
- A result count if the store has enough products that customers may wonder how many items are available.
- Pagination or another clear way to move through longer product lists.
Do not overbuild the first version. A clean grid with good product photos, readable prices, and working filters beats a crowded archive every time.
Use The Right Product Widget Settings
When the widget is meant to power the real archive page, use the current archive query where Elementor provides that option. That lets WooCommerce decide which products belong on the Shop page, category page, tag page, or filtered archive.
Then check the customer-facing settings:
- Columns and rows: Use a layout that works on desktop and still collapses cleanly on mobile.
- Pagination: Turn it on for larger catalogs so the archive does not try to load too many products at once.
- Ordering: Enable sorting when customers compare price, popularity, rating, or newest products.
- Result count: Show it when the product list is large enough that context helps.
- Empty state: Add a friendly message for categories with no matching products.
WooCommerce stores live or die by clarity. Product cards should show the product image, title, price, sale state when relevant, and a clear path to view or buy. Avoid hiding key product information behind hover-only effects, because touch screens and keyboard users may miss it.
Set Display Conditions Carefully
When the template is ready, publish it and set the display conditions. For most stores, you will include the product archive areas you want the template to control. That may be all product archives, only the Shop page, selected product categories, or a more narrow setup if different product lines need different layouts.
Be deliberate here. The wrong condition can make a template appear on more product archives than intended, or not appear at all. After publishing, test these pages directly:
- The main Shop page.
- At least one product category archive.
- At least one product tag archive if your store uses tags.
- A filtered or sorted product view if your store offers filtering.
- A product archive with very few products, if one exists.
If you only need a regular blog or post archive, use the broader Elementor Pro archive template tutorial instead. Product archives have WooCommerce-specific behavior and deserve their own checks.
Design For Mobile, Speed, And Accessibility
Most store visitors do not browse with a designer's monitor. Open the archive on a phone-sized screen and look for the practical problems first.
- Product images should not be cropped in a way that hides the item.
- Product titles should wrap cleanly without covering the price or buttons.
- Sale badges, rating stars, and buttons should have enough contrast.
- Buttons and links should be large enough to tap comfortably.
- Sorting and filtering controls should be usable with a keyboard and screen reader.
- Lazy loading should not leave the first visible products blank.
Keep the page focused. Large sliders, auto-playing video, and too many motion effects can slow the archive down and distract from the products. If you add tutorial videos or audio to a post, make sure the player has visible controls, captions or transcript text where appropriate, keyboard access, and clear labels. If the media is not polished enough to help the visitor, skip it for that page.
Publish And Verify The Store Flow
After publishing, clear any page cache, CDN cache, and WooCommerce-related cache your site uses. Then verify the store like a customer would.
- Open the Shop page in a private browser window.
- Click into a product category and confirm the right products appear.
- Sort products by price or latest if sorting is enabled.
- Open a product, add it to the cart if the store allows direct cart testing, and confirm the cart still works.
- Check desktop, tablet, and mobile widths.
- Look at your browser console for obvious front-end errors.
- Review the page title, meta description, image alt text, and canonical URL.
If you recently patched a builder, cache, or security plugin, verify the archive again after the update. Builder and cache plugins sit close to the customer-facing page output. Recent examples include the Avada Builder patch guide and the WP-Optimize cache plugin patch guide.
Common Product Archive Problems
If the template does not show up, check the display conditions first. Then confirm WooCommerce is active, Elementor Pro is active, and the archive template was created as a product archive rather than a normal page template.
If products are missing, make sure the widget is using the archive query where appropriate. Also check product visibility, stock status, categories, tags, and whether a filter plugin is changing the product list.
If the design looks right while logged in but wrong for visitors, clear your site cache and CDN cache. Then test again in a private window. Cache can hold the old archive layout long after the template was changed.
If the page becomes slow, reduce product count per page, compress product images, remove heavy decorative sections, and test again. A product archive should help customers scan and choose, not make them wait.
Source Links
- Elementor: Creating a WooCommerce Shop Page / Archive Template with Elementor Pro
- Elementor: Create WooCommerce product archives
- Elementor: Display WooCommerce products
- WooCommerce: Product Collection block documentation
2026 WooCommerce archive refresh
A product archive template is not only a design surface. It can change category pages, shop pages, product-card visibility, sale badges, variation cues, pagination, filters, and paths that shoppers use before checkout. Back up the site and test on staging before replacing a live WooCommerce archive layout.
After the template is assigned, verify the shop page, product categories, out-of-stock items, sale products, mobile product cards, sorting, filters, breadcrumbs, schema output, page speed, cart links, and checkout handoff. If a theme or plugin already customizes WooCommerce archives, keep notes so the rollback path is clear.
Related Fix I.T. Phill reading
- Get more sales on your WooCommerce website
- Create an archive template in Elementor Pro
- Best help for WordPress
