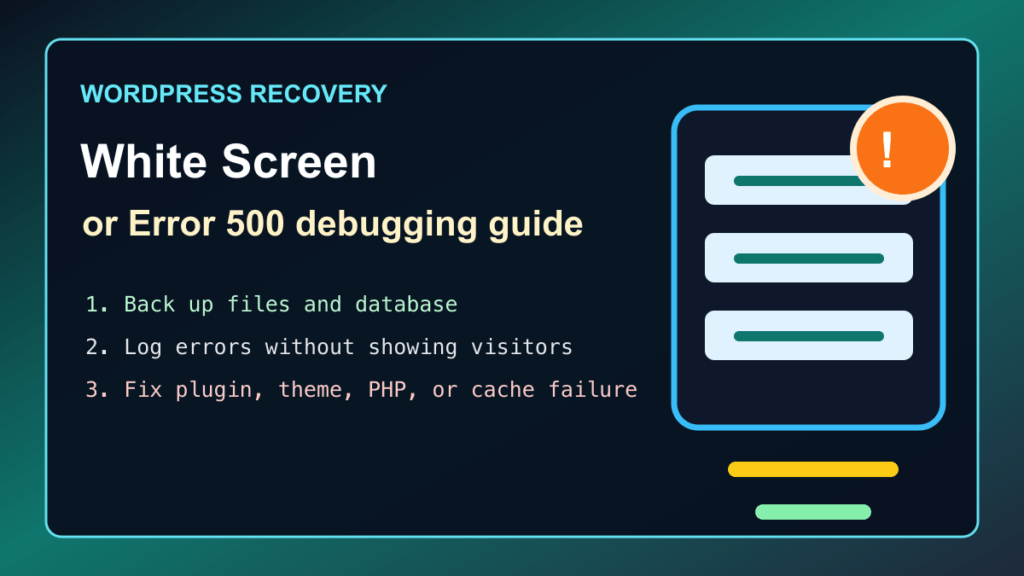
2026 update: a blank WordPress page, White Screen of Death, or Error 500 usually means PHP hit a fatal error before WordPress could finish loading. Debugging can help you find the cause, but it should be done carefully. Take a backup first, avoid showing debug output to visitors, and turn debugging back off after the repair is done.
Debugging is an essential tool when it comes to identifying and fixing errors and issues on your WordPress website. Enabling debugging can help you find and resolve issues quickly, improving the performance and security of your website. In this post, we will guide you through the process of enabling debugging for WordPress, along with some helpful tips and resources.
Before You Edit Anything
- Back up the site. Save the files and database before editing
wp-config.php, plugins, themes, or PHP settings. - Check the easy causes first. A failed plugin update, a theme update, a PHP version change, a full disk, or a bad cache file can all cause a blank screen or Error 500.
- Use staging when possible. Debugging on a live site can expose paths and warnings if it is configured incorrectly.
- Keep notes. Record the plugin, theme, PHP version, and hosting change you tested so you can undo changes cleanly.
Step 1: Access The wp-config.php File
To enable debugging in WordPress, you need to modify the wp-config.php file. You can access this file by logging into your website’s hosting account and navigating to the root folder of your WordPress installation. In cPanel, Plesk, DirectAdmin, or a managed host, use the file manager or SFTP. Do not edit this file from an unknown computer or over an insecure connection.
Step 2: Enable Logging Without Showing Errors To Visitors
Look for the existing WP_DEBUG line. If it is not present, add the following lines above the line that says to stop editing:
define('WP_DEBUG', true);
define('WP_DEBUG_LOG', true);
define('WP_DEBUG_DISPLAY', false);
This sends errors to a log file instead of printing them on the public site. That is safer for visitors and safer for site owners because PHP warnings can reveal file paths, plugin names, and other clues you do not want on the front end.
Step 3: Save And Upload The File
After making the necessary changes to the wp-config.php file, save the file and upload it back to the root folder of your WordPress installation. If the site immediately changes from a blank screen to a different error, do not panic. That usually means the log is now catching the failure clearly enough to troubleshoot.
Step 4: Review The Debug Log
Once debugging is enabled, review the debug log to identify and troubleshoot errors on your website. WordPress normally writes the log to wp-content/debug.log. Download it, read the newest errors first, and look for the plugin, theme, or PHP file mentioned repeatedly.
Do not leave debug.log publicly reachable. If you can browse directly to the log file from a normal browser, remove it after troubleshooting and ask your host to block public access to log files.
If You Cannot Reach wp-admin
If the WordPress dashboard is down, start with the safest recovery options. Use WordPress Recovery Mode if it emailed you a link, then disable the last plugin or theme that changed. If you have WP-CLI, you can list plugins and themes from the server. If you only have phpMyAdmin, use the plugin-disable guide below and work slowly.
- Disable one plugin at a time when possible.
- Switch to a default theme only long enough to confirm whether the theme is the cause.
- Check the server error log, not only the WordPress debug log.
- Confirm the PHP version matches your WordPress, plugin, and theme requirements.
- Clear page cache, object cache, CDN cache, and browser cache after the repair.
Helpful Tips And Resources
- Use a debugging plugin on staging. Query Monitor and WP Debugging can help during development, but they should not be left casually enabled on a live customer site.
- Only enable debugging temporarily. Debugging on a live website can expose sensitive information and should be avoided unless you are actively troubleshooting.
- Disable debugging when you are done. Once the issue is fixed, set
WP_DEBUGback tofalse, remove the log if it contains sensitive paths, and confirm the public site no longer writes new debug output. - Look for the root cause. A blank screen is a symptom. The real cause may be an outdated plugin, a broken theme function, a missing PHP module, malware cleanup damage, file permissions, or a failed update.
After The Site Loads Again
After the site comes back, update WordPress core, plugins, and themes, then test the front page, forms, checkout, login, and any custom post types. If the failure happened after a suspicious plugin update or a security incident, review administrator users, recently modified files, unexpected executable files, and hosting logs before calling the job done.
Related Fix I.T. Phill Guides
- Disable WordPress plugins with phpMyAdmin safely
- Update WordPress plugins, themes, and core files safely
- WordPress hosting security checklist for malware and backups
- Plesk Obsidian May 2026 security update guide
- WordPress plugin security roundup for May 2026